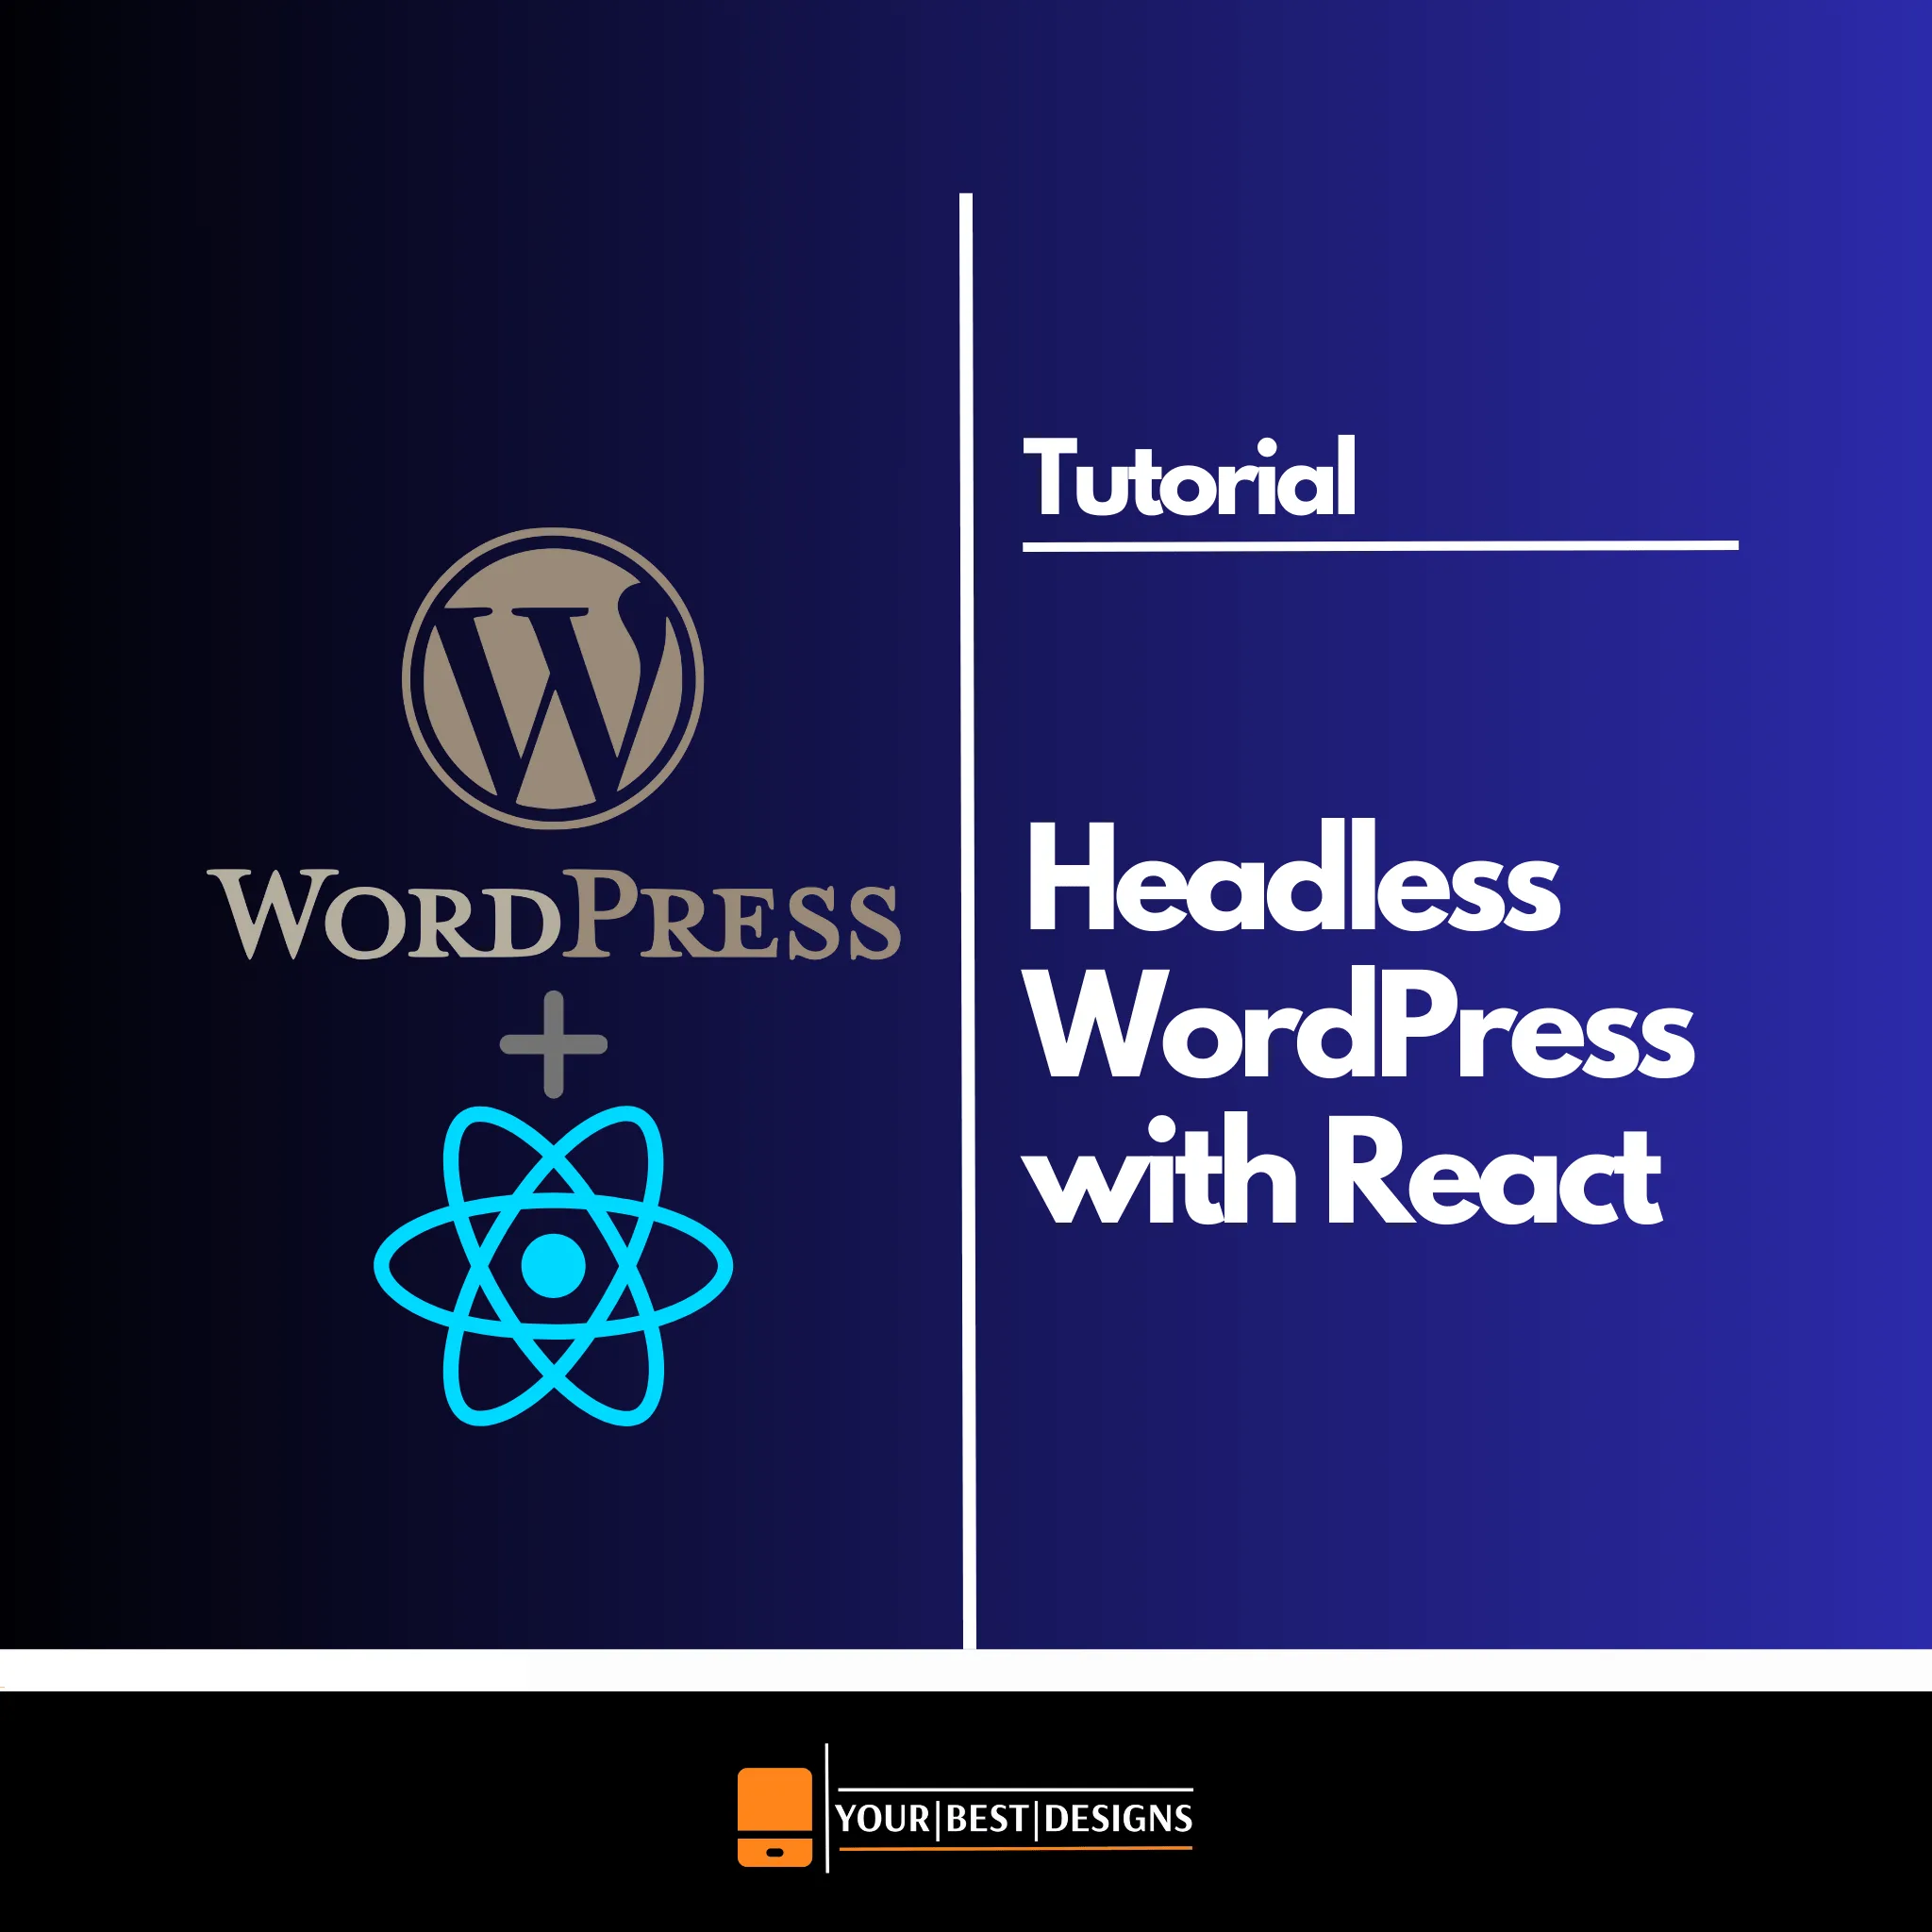
Have you ever wondered how major websites maintain the ease of WordPress content management while delivering lightning-fast user experiences? The secret lies in leveraging a Headless WordPress Site with React. In this comprehensive guide, I’ll show you how to build a headless WordPress site that combines the power of WordPress for backend content management with the speed and flexibility of React for a modern, high-performance frontend.
What is a Headless WordPress Site with React (And Why Should You Care)?
Think of a traditional WordPress site as a complete house, combining both the foundation (backend) and the visible structure (frontend). In a Headless WordPress Site with React, these parts are decoupled, letting WordPress manage content and React handle the user interface. This innovative approach offers transformative benefits:
- Superior Performance: React ensures your site loads at lightning speed.
- Development Flexibility: Frontend developers can use cutting-edge tools and frameworks.
- Enhanced Security: The WordPress admin area remains separate from the public-facing site.
- Improved Scalability: Both the frontend and backend can scale independently.
Before We Begin: Setting Up Your Environment
To follow along with this tutorial, you’ll need:
- A WordPress installation (I’ll show you how to set this up)
- Node.js installed on your computer
- Basic familiarity with WordPress and React
- A code editor (I recommend Visual Studio Code)
For WordPress hosting, I recommend using Kinsta or Pressable as they provide excellent support for headless setups. For those comfortable with server management, Digital Ocean offers great flexibility.
Part 1: Setting Up WordPress as a Headless CMS
Let’s start by preparing WordPress to serve as our content management system.
Step 1: Installing WordPress
First, install WordPress on your chosen hosting provider. I recommend using Kinsta or Pressable for beginners due to their user-friendly setup process. After installation, install these essential plugins:
- WP REST API (comes with WordPress core)
- Advanced Custom Fields (ACF)
- ACF to REST API
- JWT Authentication
Step 2: Configuring WordPress for Headless Use
Add this code to your wp-config.php file to enable JWT authentication:
// Enable JWT Authentication
define('JWT_AUTH_SECRET_KEY', 'your-secret-key-here');
define('JWT_AUTH_CORS_ENABLE', true);
Next, add this to your theme’s functions.php to handle CORS (Cross-Origin Resource Sharing):
function headless_wp_cors() {
    // Allow specific origins or use * for development
    header("Access-Control-Allow-Origin: *");
    header("Access-Control-Allow-Methods: GET, POST, OPTIONS");
    header("Access-Control-Allow-Headers: Content-Type");
}
add_action('init', 'headless_wp_cors');
Part 2: Creating Your React Frontend
Now that WordPress is ready to serve content, let’s build our React application.
Step 1: Creating a New React Project
Open your terminal and run these commands:
# Create a new React project
npx create-react-app headless-wp-frontend
cd headless-wp-frontend

# Install necessary dependencies
npm install axios styled-components react-router-dom
Step 2: Setting Up the Basic Structure
Let’s organize our project with a clear structure:
src/
├── components/       # React components
├── hooks/           # Custom React hooks
├── utils/           # Utility functions
└── pages/           # Page components
Step 3: Creating the WordPress API Connection
Create a new file src/utils/api.js:
import axios from 'axios';

class WordPressAPI {
    constructor() {
        // Replace with your WordPress site URL
        this.baseURL = 'https://your-wordpress-site.com/wp-json';
        this.client = axios.create({
            baseURL: this.baseURL,
        });
    }

    // Get all posts
    async getPosts() {
        try {
            const response = await this.client.get('/wp/v2/posts', {
                params: {
                    _embed: true, // Include featured images and author info
                },
            });
            return response.data;
        } catch (error) {
            console.error('Error fetching posts:', error);
            throw error;
        }
    }

    // Get a single post by slug
    async getPost(slug) {
        try {
            const response = await this.client.get(`/wp/v2/posts`, {
                params: {
                    slug,
                    _embed: true,
                },
            });
            return response.data[0];
        } catch (error) {
            console.error('Error fetching post:', error);
            throw error;
        }
    }
}

export default new WordPressAPI();
Step 4: Creating Your First Component
Let’s create a component to display blog posts. Create src/components/Post.js:
import React from 'react';
import styled from 'styled-components';

// Styled components for consistent styling
const PostContainer = styled.article`
    padding: 2rem;
    margin: 1rem 0;
    border-radius: 8px;
    box-shadow: 0 2px 4px rgba(0,0,0,0.1);
    background: white;
`;

const PostTitle = styled.h2`
    color: #333;
    margin-bottom: 1rem;
`;

const PostContent = styled.div`
    line-height: 1.6;
    color: #666;
`;

const Post = ({ post }) => {
    return (
        <PostContainer>
            <PostTitle
                dangerouslySetInnerHTML={{ __html: post.title.rendered }}
            />
            <PostContent
                dangerouslySetInnerHTML={{ __html: post.content.rendered }}
            />
        </PostContainer>
    );
};

export default Post;
Part 3: Enhancing Performance and User Experience
Now that we have the basics working, let’s optimize our site for the best possible performance.
Adding Loading States
Create a custom hook to handle data fetching and loading states:
// src/hooks/useWordPressData.js
import { useState, useEffect } from 'react';
import api from '../utils/api';

export function useWordPressPosts() {
    const [posts, setPosts] = useState([]);
    const [loading, setLoading] = useState(true);
    const [error, setError] = useState(null);

    useEffect(() => {
        async function fetchPosts() {
            try {
                setLoading(true);
                const data = await api.getPosts();
                setPosts(data);
            } catch (err) {
                setError(err.message);
            } finally {
                setLoading(false);
            }
        }

        fetchPosts();
    }, []);

    return { posts, loading, error };
}
Implementing Image Optimization
WordPress images can be large, so let’s optimize how we handle them:
// src/components/OptimizedImage.js
import React from 'react';
import styled from 'styled-components';

const ResponsiveImage = styled.img`
    max-width: 100%;
    height: auto;
`;

const OptimizedImage = ({ image }) => {
    if (!image) return null;

    // Create srcset for responsive images
    const srcset = image.media_details?.sizes
        ? Object.entries(image.media_details.sizes)
            .map(([size, details]) => `${details.source_url} ${details.width}w`)
            .join(', ')
        : '';

    return (
        <ResponsiveImage
            src={image.source_url}
            srcSet={srcset}
            sizes="(max-width: 768px) 100vw, 768px"
            alt={image.alt_text || ''}
            loading="lazy"
        />
    );
};

export default OptimizedImage;
Part 4: Common Challenges and Solutions
Challenge 1: Preview Functionality
One common challenge with headless WordPress is handling post previews. Here’s how to implement preview functionality:
// src/components/Preview.js
import React from 'react';
import { useLocation } from 'react-router-dom';
import api from '../utils/api';

const Preview = () => {
    const [previewData, setPreviewData] = useState(null);
    const { search } = useLocation();
    const params = new URLSearchParams(search);
    const previewId = params.get('preview_id');

    useEffect(() => {
        if (previewId) {
            api.getPreview(previewId)
                .then(data => setPreviewData(data));
        }
    }, [previewId]);

    if (!previewData) return <div>Loading preview...</div>;

    return <Post post={previewData} />;
};
Challenge 2: SEO Optimization
SEO can be tricky with headless setups. Here’s how to handle meta tags:
// src/components/SEOMeta.js
import React from 'react';
import { Helmet } from 'react-helmet';

const SEOMeta = ({ title, description, image }) => (
    <Helmet>
        <title>{title}</title>
        <meta name="description" content={description} />
        <meta property="og:title" content={title} />
        <meta property="og:description" content={description} />
        {image && <meta property="og:image" content={image} />}
    </Helmet>
);
Part 5: Deployment and Maintenance
Deployment Options
For deploying your headless WordPress site, consider these options:
- WordPress Backend:
- Use Pressable for managed WordPress hosting
- Choose Digital Ocean for custom server configurations
- React Frontend:
Maintenance Best Practices
- Keep WordPress and plugins updated regularly
- Monitor API performance using tools like New Relic
- Implement proper error logging and monitoring
- Regularly backup both WordPress and React codebases
Frequently Asked Questions
How does this affect SEO?
When properly implemented with server-side rendering or static generation, headless WordPress can actually improve your SEO by providing faster load times and better mobile performance.
Can I still use WordPress plugins?
Yes, but only plugins that work with the WordPress backend or enhance the REST API. Plugins that modify the frontend won’t work in a headless setup.
What about forms and user interactions?
Forms and user interactions can be handled through the WordPress REST API or custom endpoints. For advanced form handling, consider using HubSpot CRM.
Conclusion
Creating a headless WordPress site with React is an investment in your website’s future. While the initial setup requires more work than a traditional WordPress site, the benefits in terms of performance, security, and flexibility make it worthwhile.
Remember to:
- Start small and add features incrementally
- Test thoroughly, especially after adding new features
- Keep both WordPress and React codebases updated
- Monitor performance and user experience
Need help setting up your headless WordPress site? Drop your questions in the comments below!


No Comments